diy / oversized and mistmatched art
/

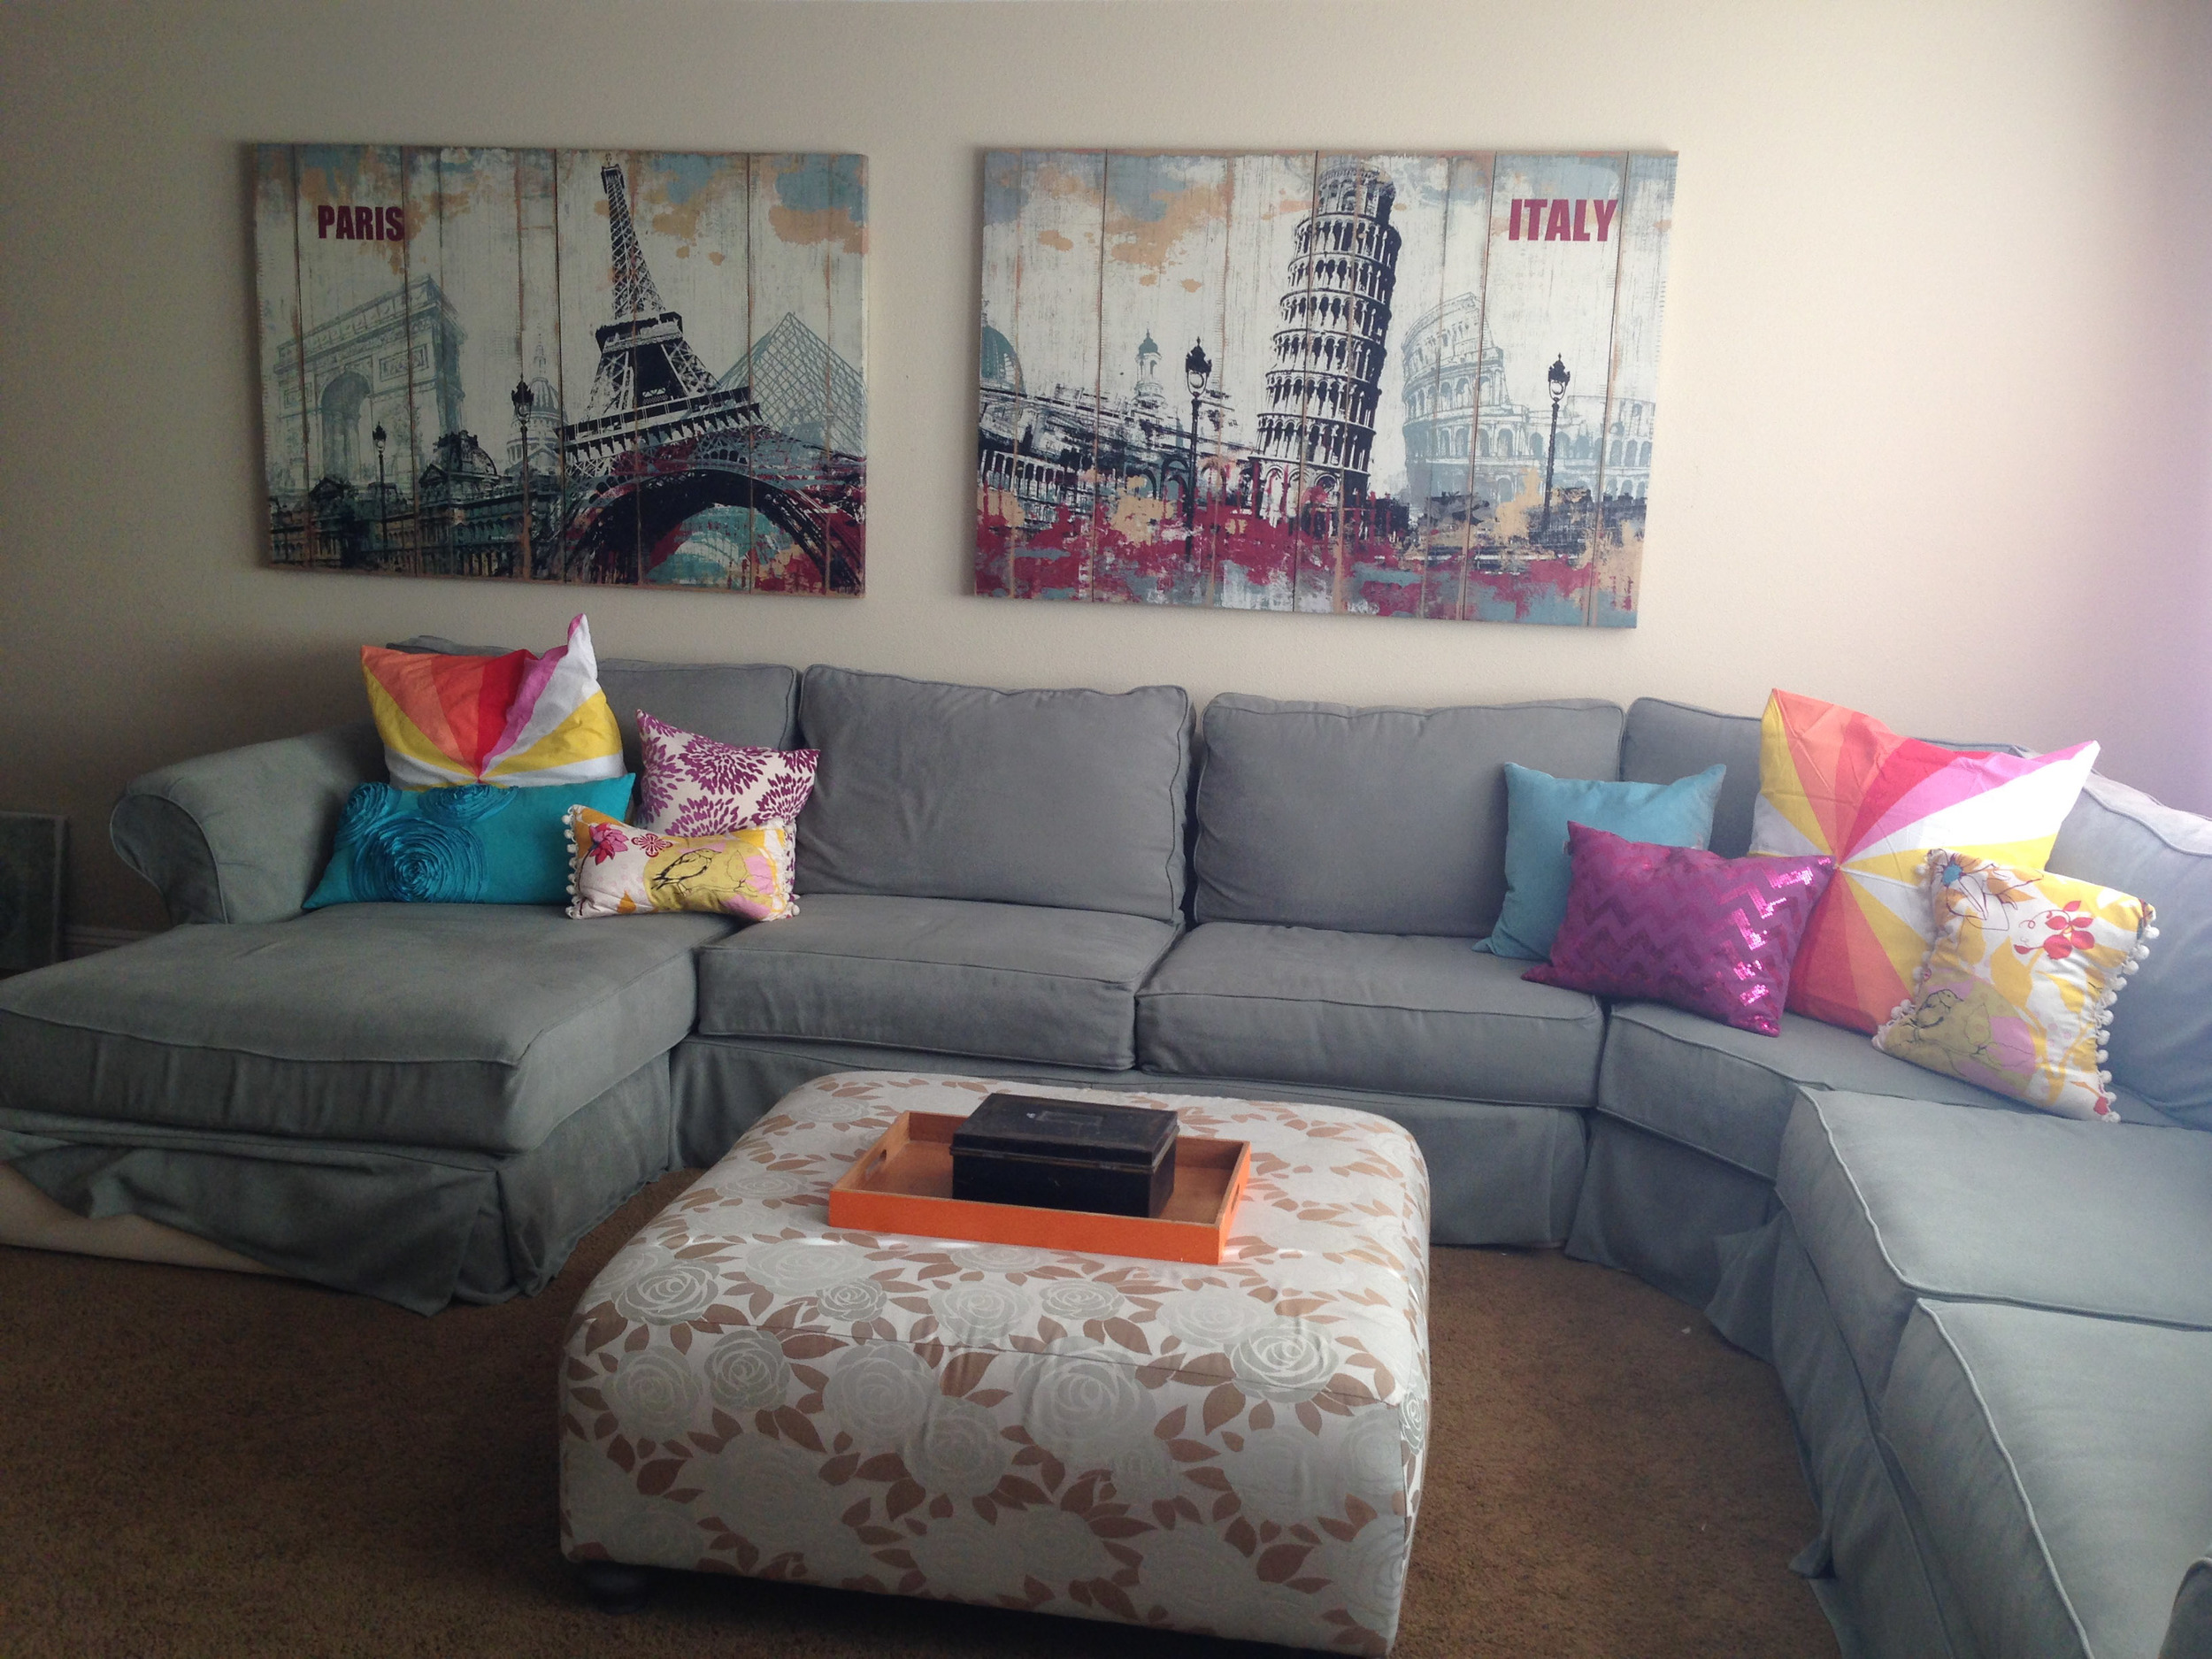
i am kind of rude to my mom sometimes and tell her how ugly her loft is. it has been in need of some sprucing for years now. i, of course, want to just do away with the big things like the couch which i think is too big and bulky (though super comfortable and can fit my whole family for sunday naps). however, the easier solution is to change out the art. we had two large canvases above the couch, so we figured rather than just getting rid of them (they are the perfect size), we would paint over them! in fact, we only used things we already had (canvases and paint). here is how we did it:
before:
prep work:
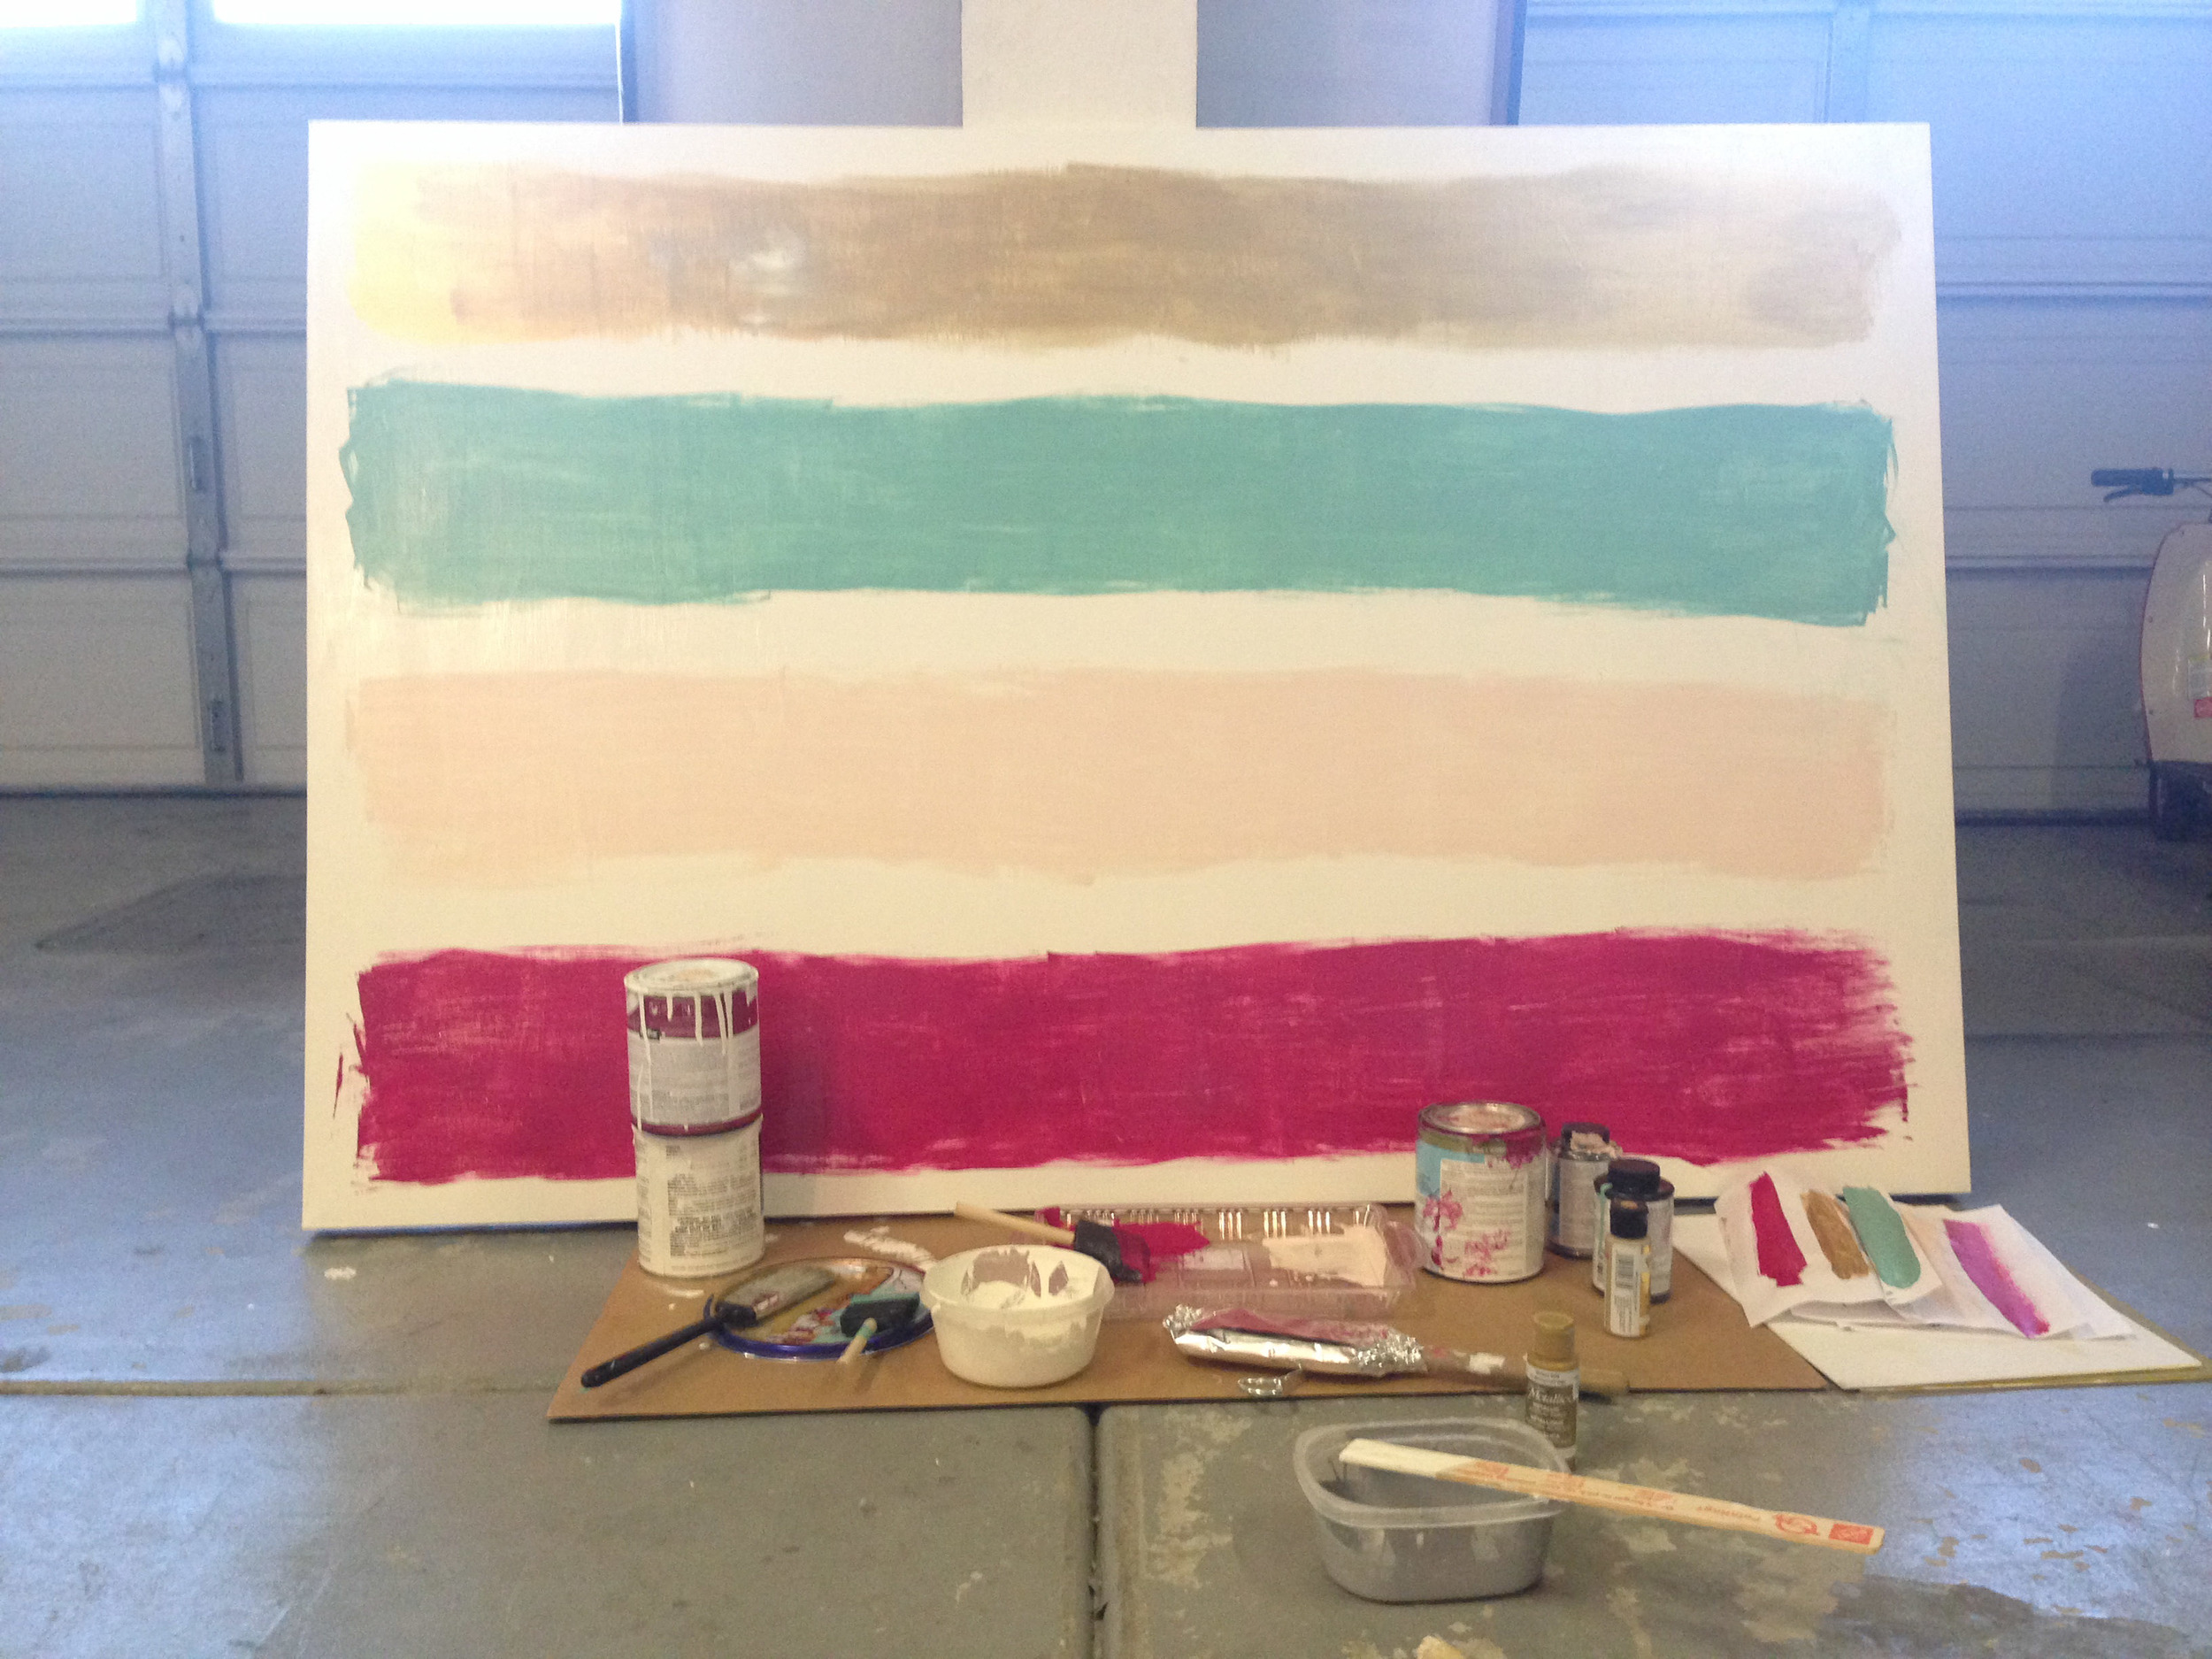
first we took the paintings down in to the garage and did a grey primer coat. then we topped them with two coats of glossy white paint. this was the part of the process that took the longest (and it was the least rewarding- i was tempted to leave it with the partial white coat you see below!). we thought about spray painting but we figured each of the paintings would take a couple of cans (which we didn't have), and we liked the look of brush strokes).


next we went through our paint to figure out a color scheme. we tried them out on plain sheets of paper to see what we liked best. we used house paint and craft paint. the gold was the only craft paint that we used and it took two bottles- one of them went on a lot thicker but i can't remember which brand!

painting #1:
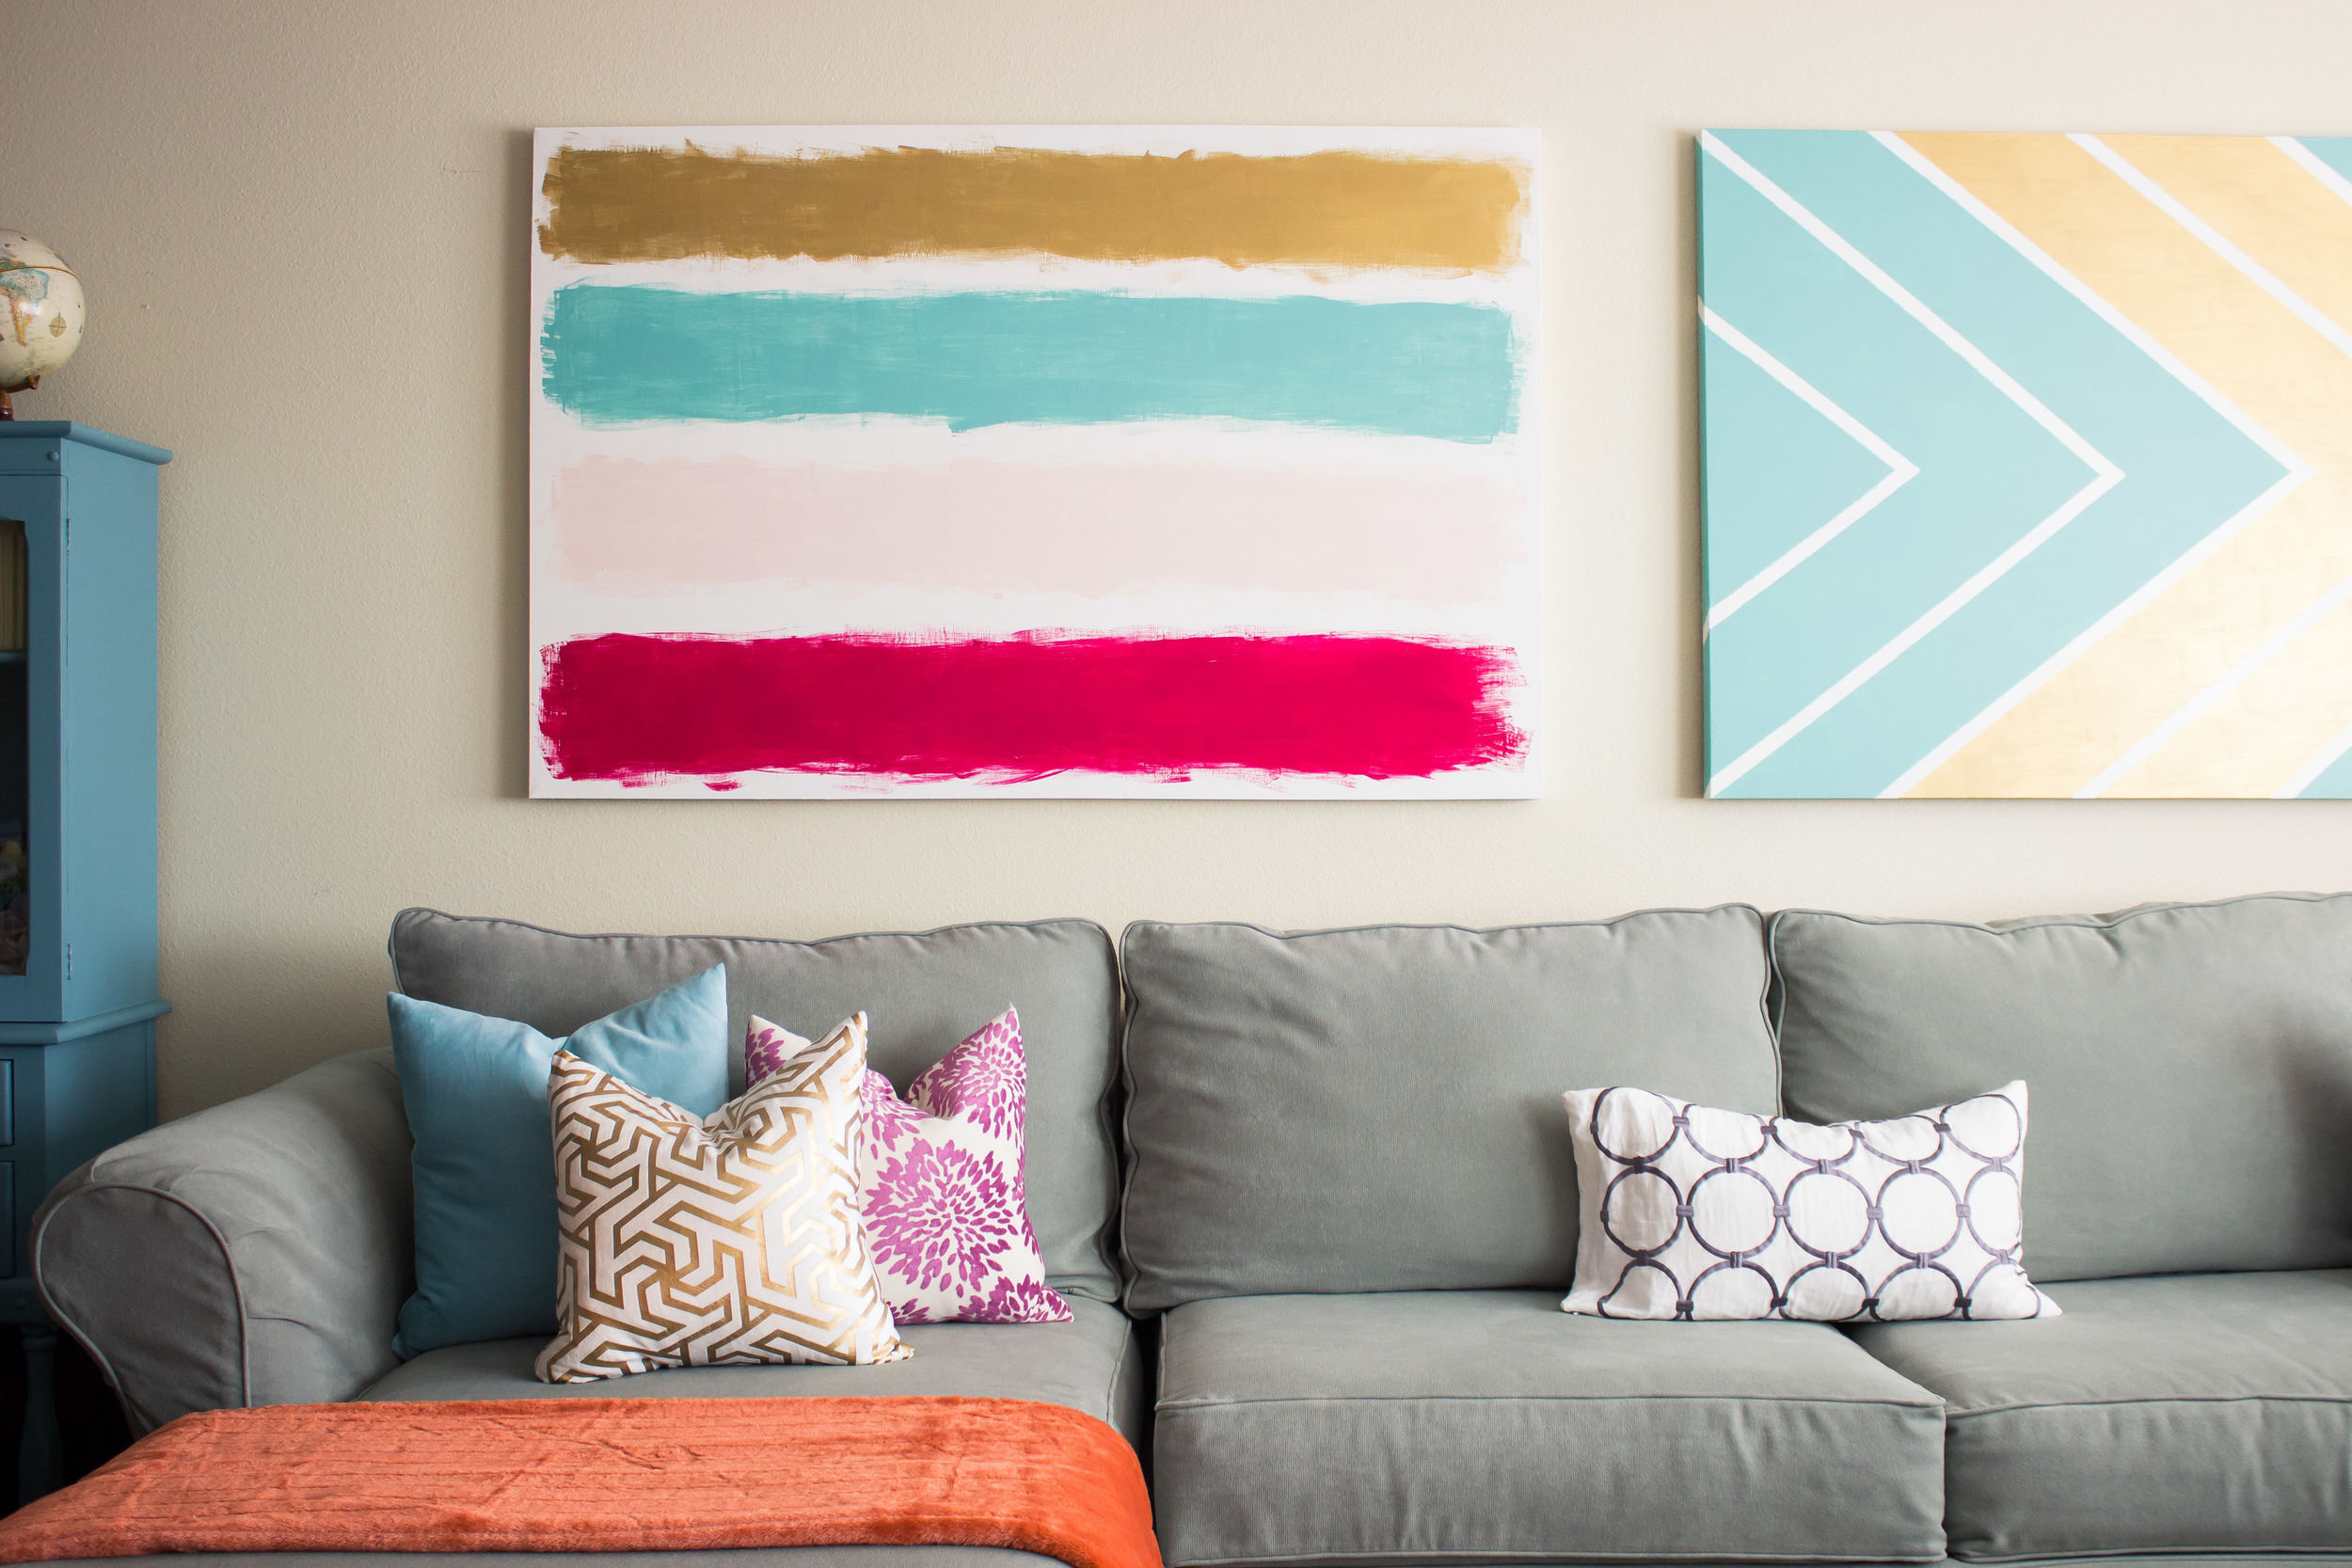
for the first painting we wanted to do a roughly striped pattern. i measured the sides of the canvas and divided it into fourths, marking the edges with small pencil marks. then i just roughly brushed on the paint. i did two coats of each color.

painting #2:
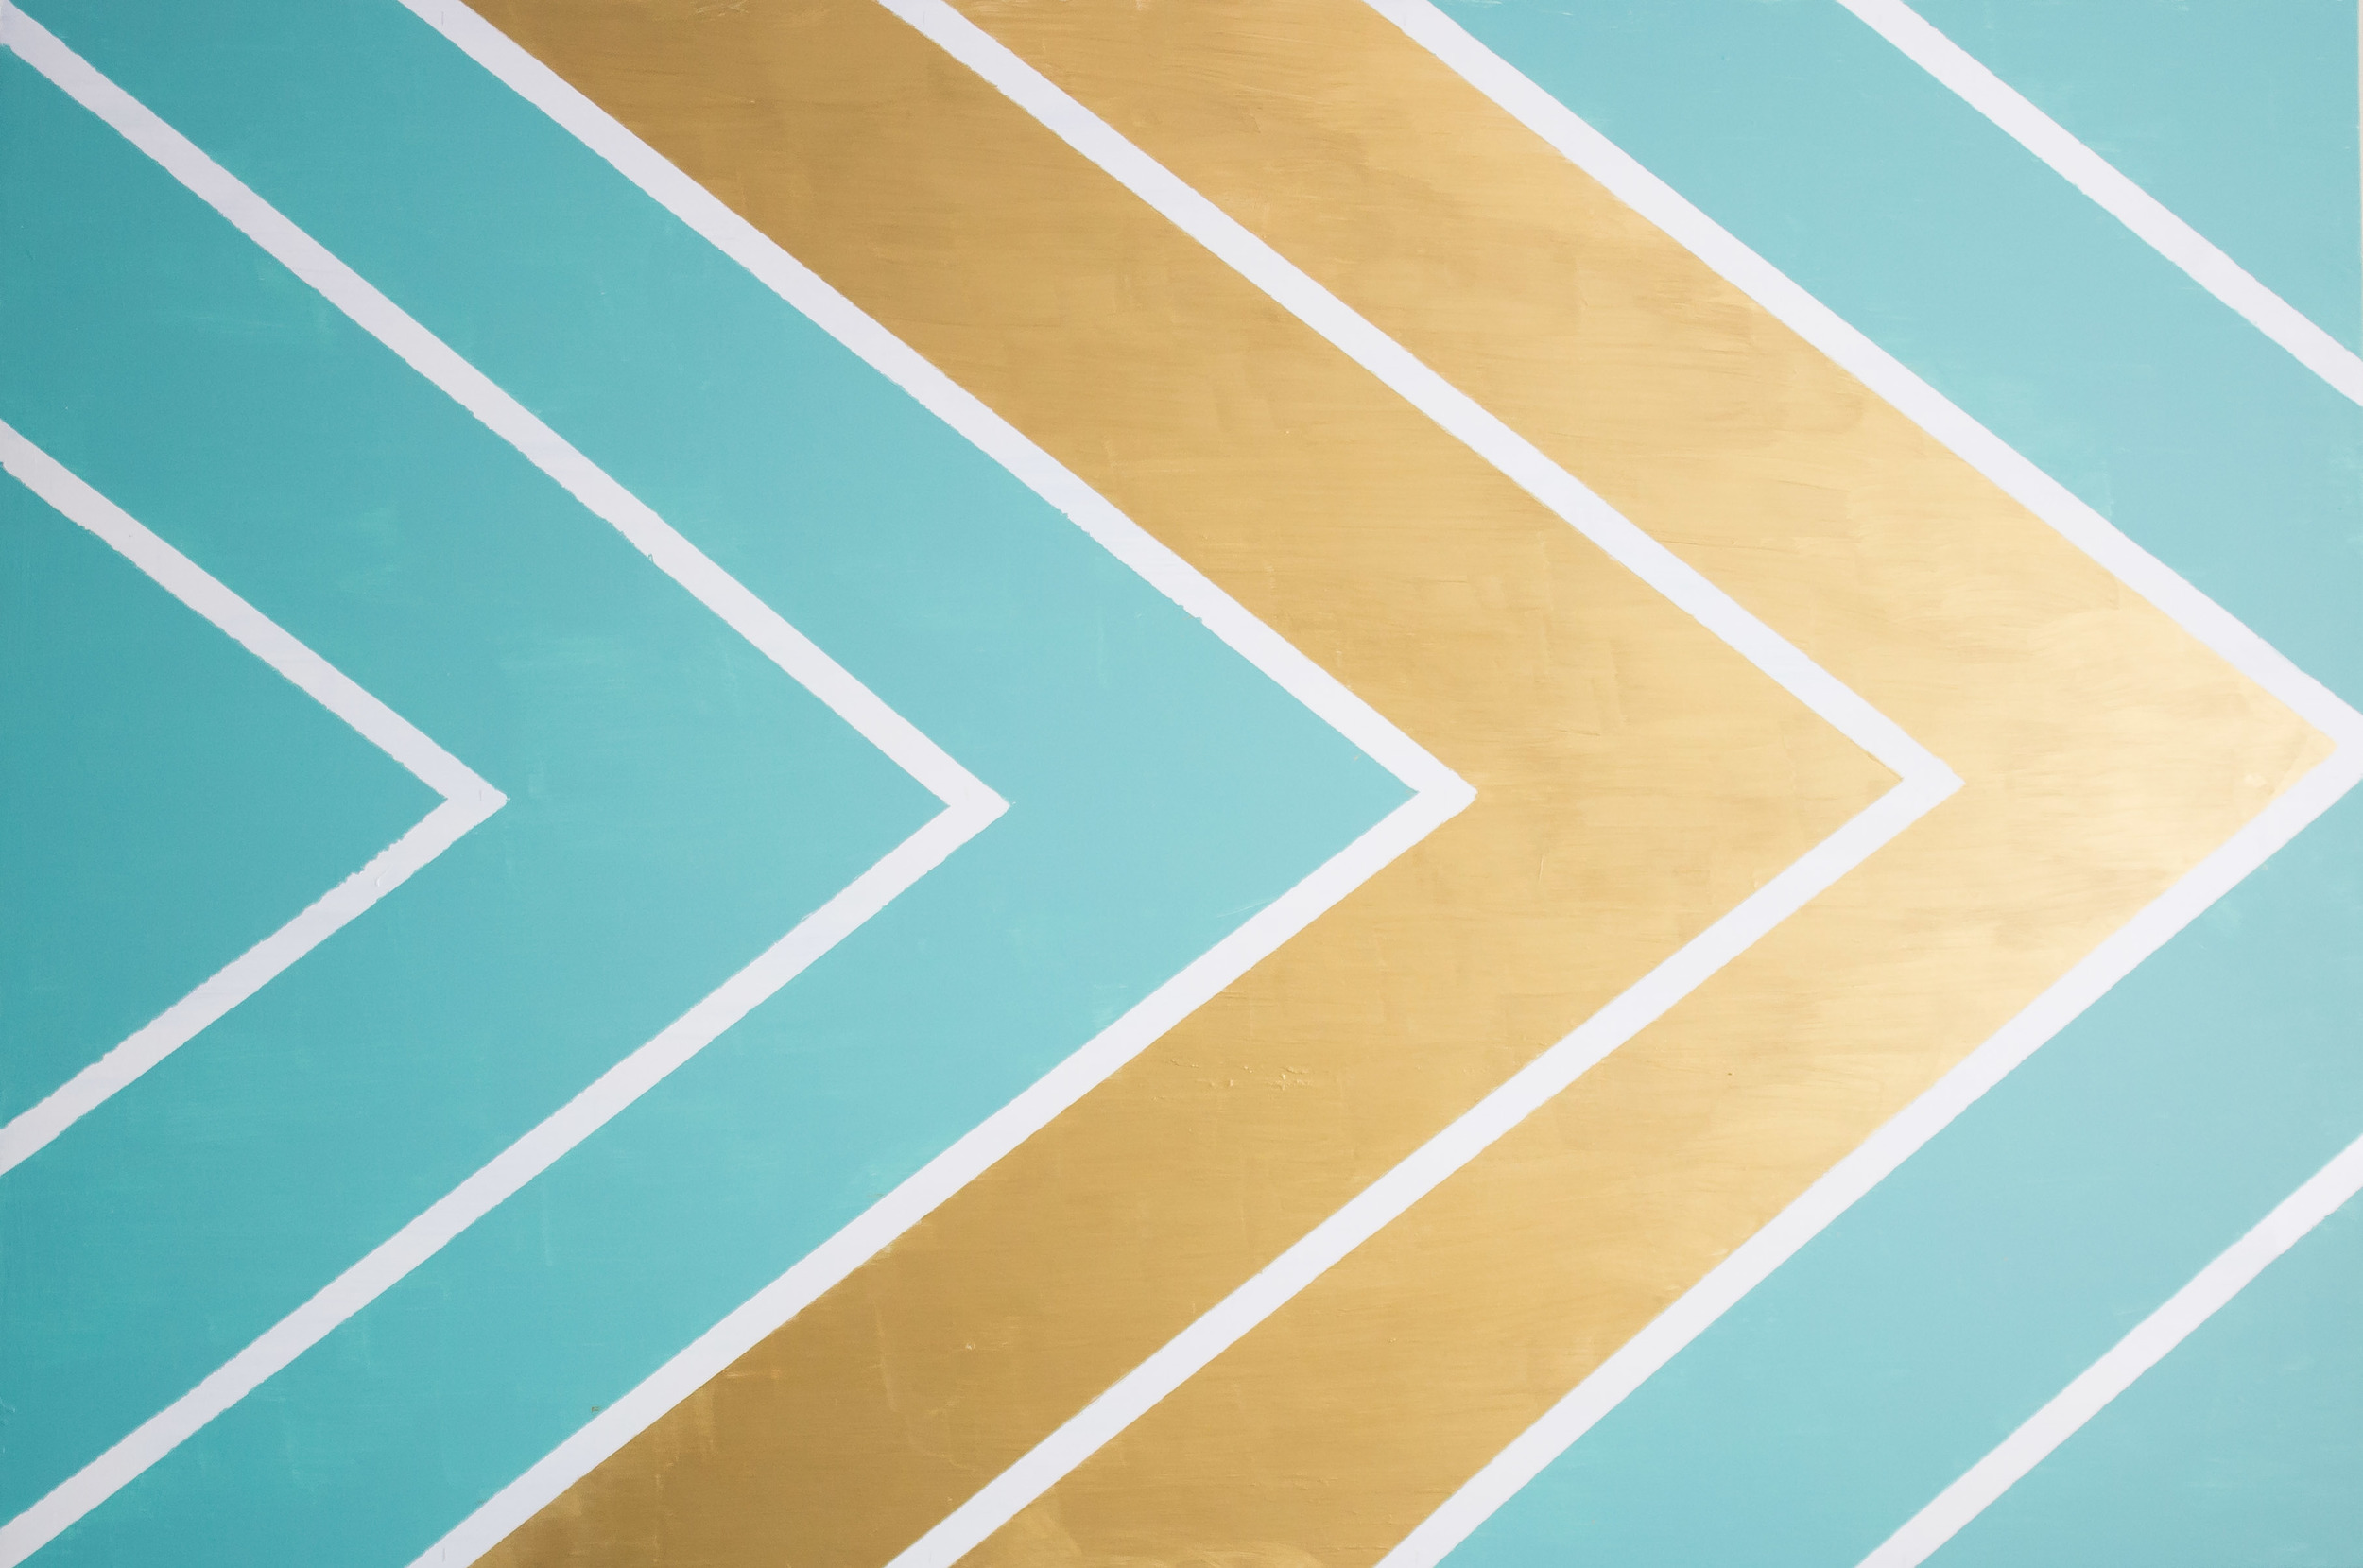
i knew i wanted to do something with triangles for the second painting, but couldn't decide what would take the least amount of work. bobette came up with this idea and i love it. to do it, i measured down the middle and marked on each side. then i divided the long sides in to five parts. i marked down the middle making deep v's (rather than shallow ones).


i painted the stripes one by one. for this one i tried to do the coats thick enough so i didn't have to do a second one for each stripe. i took the tape off pretty quickly after i finished painting- it looked awesome. my lines aren't perfectly straight and there are some places where the paint bled under the tape- but i love it nonetheless.