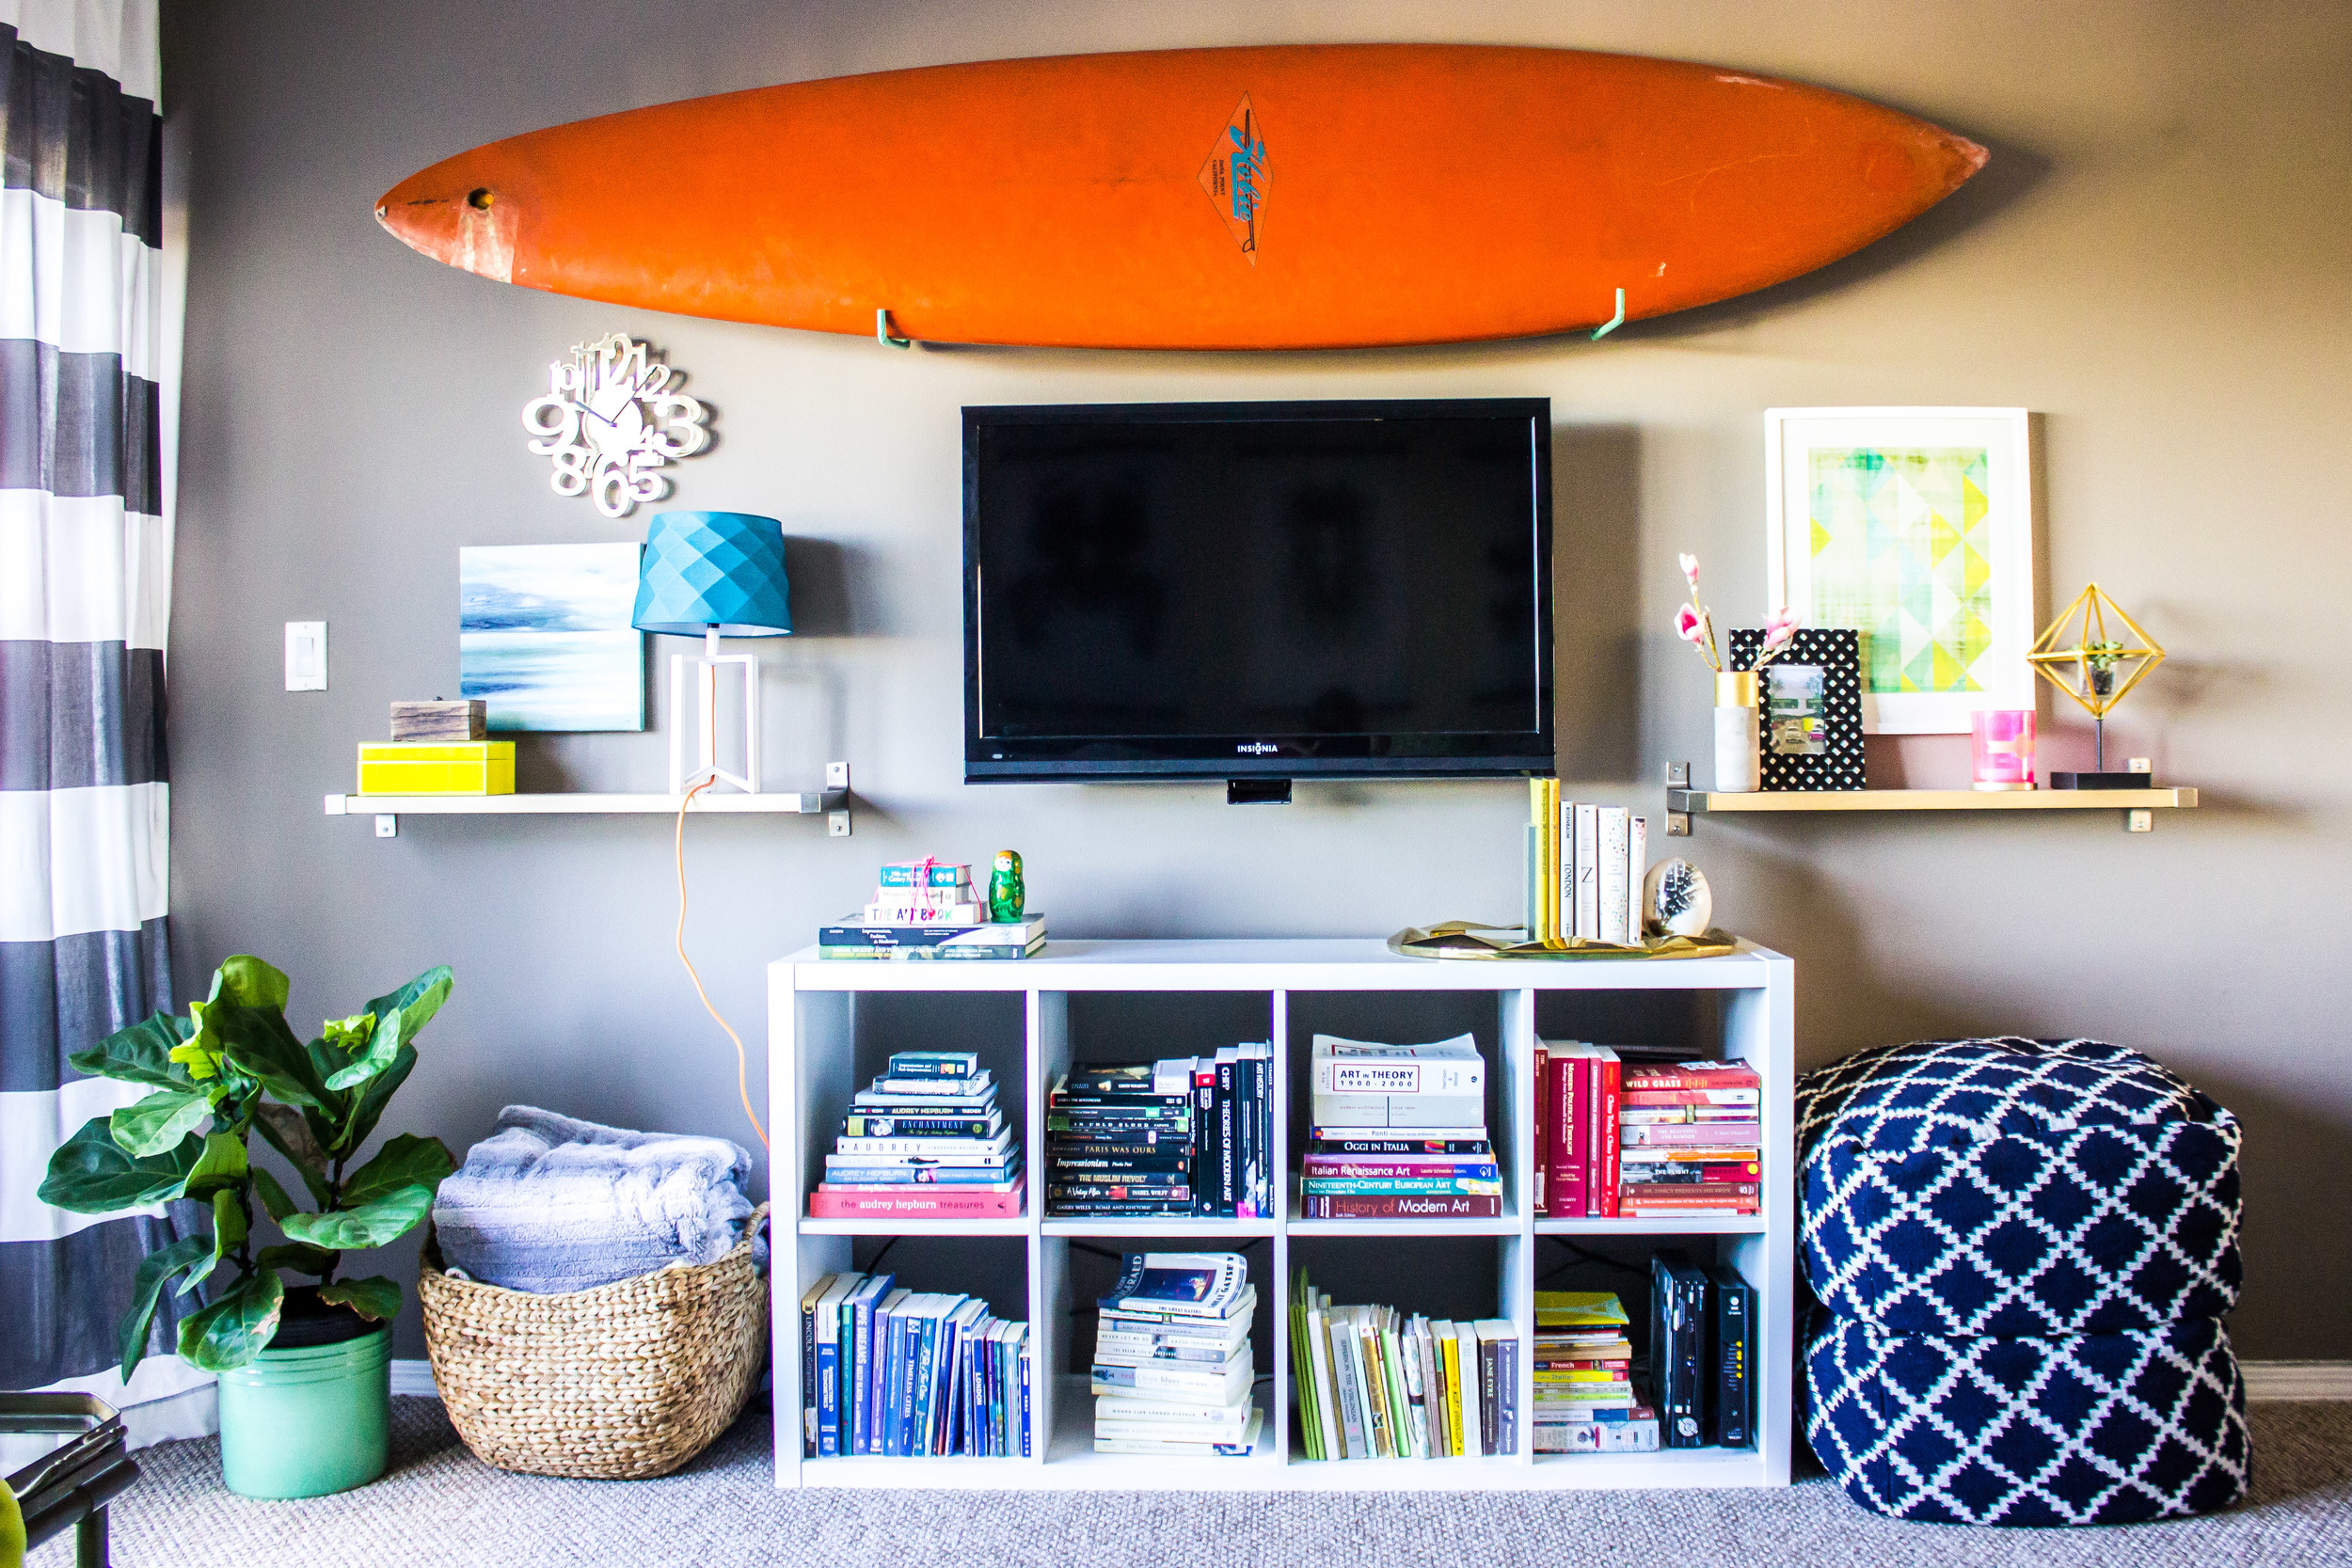
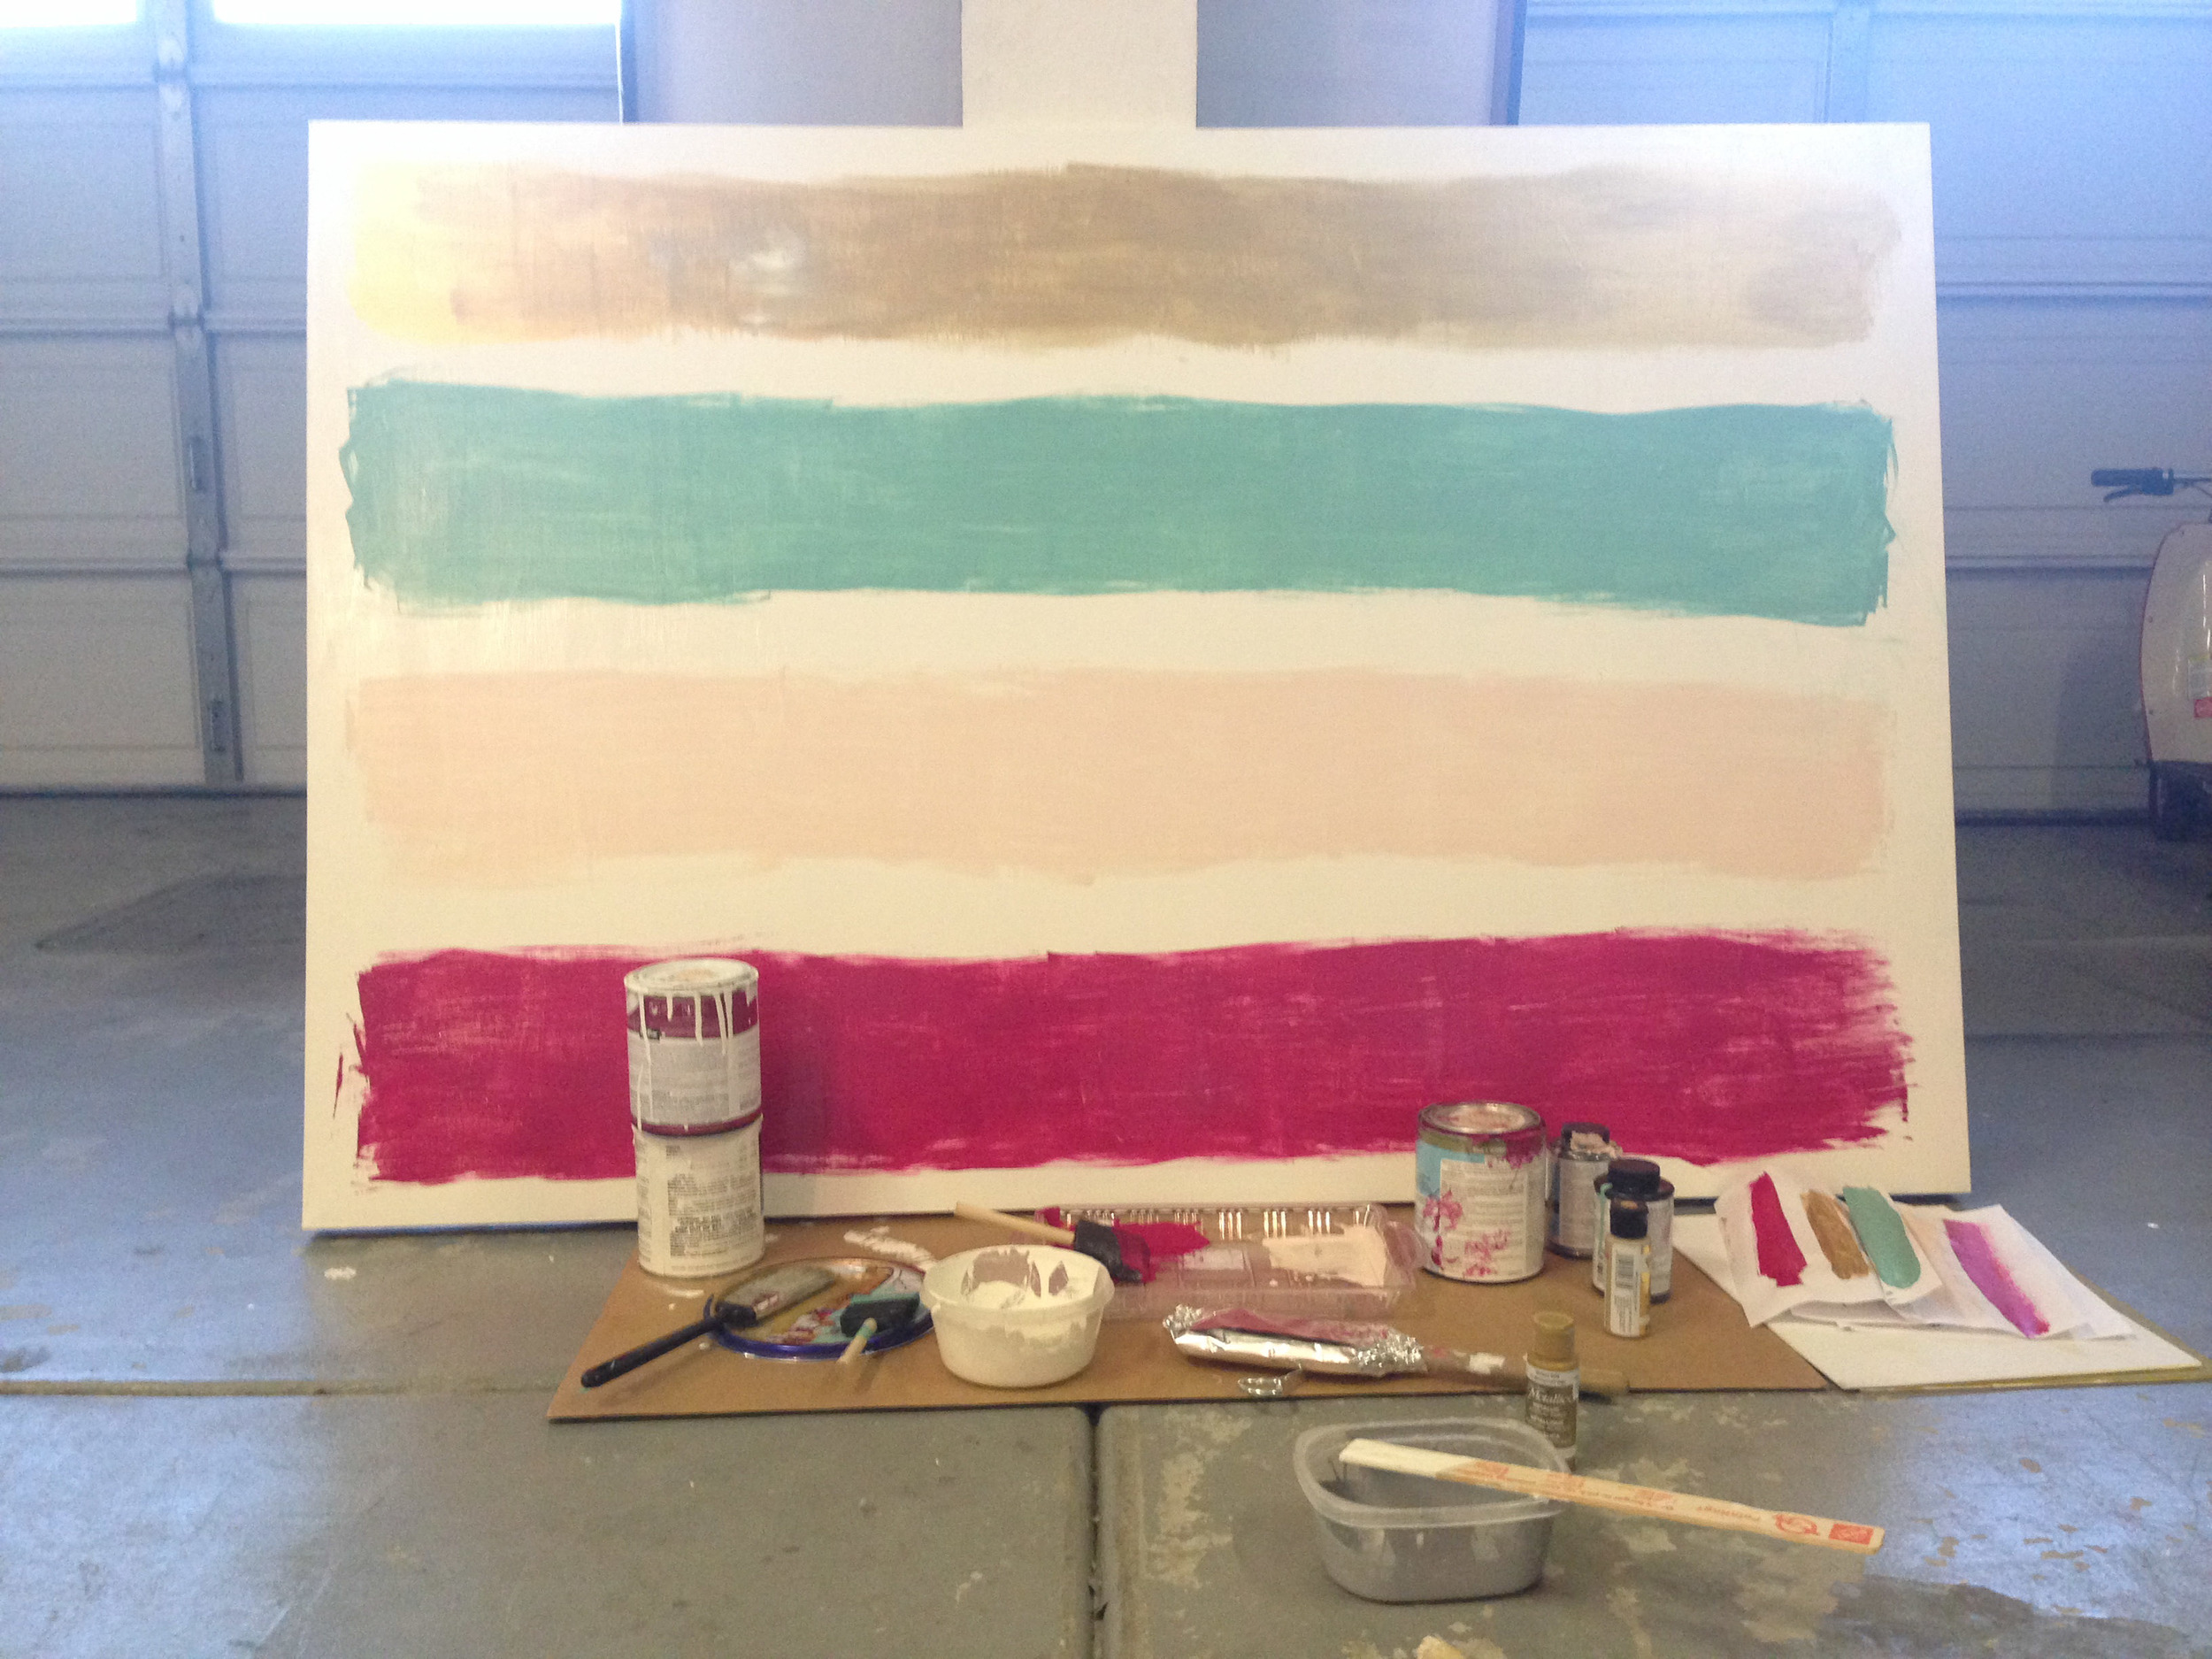
diy / wall hanging

i know, i'm like super trendy. wall hangings are all the rage right now and i knew i could make one for super cheap and make a major statement with it. and as you know, cheap+statement-making is my forte (see my rorschach wall hangings, and plus sign curtains). i spent less than $10 on this project and used some stuff i already had (or found in my mom's wedding inventory). i love how it turned out. you could do so many different things with it and in so many different colors.

Read More

living room updates!

IMG_8081.jpg

i have been itching to start putting christmas decorations up already, and am worried i'm going to pull the plug soon. these nesting instincts have hit hard. but before i start decorating for christmas i wanted to share of of the progress i have made on our living room downstairs. remember how last time i shared pics i had a huge to-do list of unfinished things?? i am proud to say that i have completed all of those things (and some things that weren't on the list)! as a reminder, this is where we were at:

i knew i wanted something big above the couch (rather than a gallery wall of smaller pieces). but, big things cost more money than i wanted to spend. so i started with the idea of engineer prints. at first i wanted to have something printed that i photographed myself (architecture, beach scenes etc.). none of it felt right. i had these rorschach prints that i had been hoarding and decided to try those out. i found an easy tutorial for these diy makeshift 'frames'. all they are is a piece of wood ($1.50 each from home depot), painted emerald green and clipped to the prints with giant gold paper clips (10/$5 from staples). the whole project was less than $25. i do think the rorschach prints look somewhat anatomical in black and white, but i like them for now. it's nice to know that if i decide to switch them out at any point i won't be losing much money! i have also debated on adding two more to the sides to make it an even more dramatic wall. what do you think?

we also moved the hanging light into the corner, and my gold lamp to the opposite table. we added two more lamps to the room (on the other side) because lighting is a major problem in this house. we have tons of natural light during the day, which is awesome, but at night there is like nothing. no recessed lighting whatsoever. it drives me crazy. 

my mom stylized all my tables for me (little details are not my forte). i got a basket to collect all of our stray things- books, laptops, etc. jarman still complains that he doesn't understand my 'basket system' and that we have too many (there is another where he is supposed to put his shoes- it's super complicated.)

i am obsessed with my new pillows- i got the one with the tassels on sale at anthro, and the little one from west elm.

on the other side of the room are some minor updates- the shelves have been rearranged and i added a basket for blankets (creating more confusion for jarman.)

we added simple grey and white striped curtains ($30 for the pair from tjmaxx). they perfectly frame our lovely vertical blinds (which are the worst things in the world). i sort of wish i had gotten another set to cover the blinds more, but i have looked and looked and haven't seen them again. also, did you know ikea has ridiculously cheap curtain rods? i'm talking $6.99 for the our 10.5 ft space. 

my most favorite recent update might just be the small peach wall in the dining area. i have been dying to paint something peach lately- and since i'm having a boy i couldn't justify using it in the nursery. so my mom painted this little wall for me last week and i am obsessed (though jarman is not so fond of it). this is definitely the house of accent walls. but since it's a rental we don't want to commit to painting everything so it is just easier to add pops of color here and there. it is also the house of ugly flooring. berber and the worst linoleum in the world. i can't wait to own my own house!

a few more detail shots:

love our little breakfast nook.

also, i promise to post pics of the baby's room soon. it was pretty much finished but we are having some problems with a sagging shelf that has caused the whole room to be torn apart. hopefully we will piece it back together this week and i can get a post together for next week. 

diy / oversized and mistmatched art

i am kind of rude to my mom sometimes and tell her how ugly her loft is. it has been in need of some sprucing for years now. i, of course, want to just do away with the big things like the couch which i think is too big and bulky (though super comfortable and can fit my whole family for sunday naps). however, the easier solution is to change out the art. we had two large canvases above the couch, so we figured rather than just getting rid of them (they are the perfect size), we would paint over them! in fact, we only used things we already had (canvases and paint). here is how we did it:

before:

prep work:

first we took the paintings down in to the garage and did a grey primer coat. then we topped them with two coats of glossy white paint. this was the part of the process that took the longest (and it was the least rewarding- i was tempted to leave it with the partial white coat you see below!). we thought about spray painting but we figured each of the paintings would take a couple of cans (which we didn't have), and we liked the look of brush strokes).

next we went through our paint to figure out a color scheme. we tried them out on plain sheets of paper to see what we liked best. we used house paint and craft paint. the gold was the only craft paint that we used and it took two bottles- one of them went on a lot thicker but i can't remember which brand!

painting #1:

for the first painting we wanted to do a roughly striped pattern. i measured the sides of the canvas and divided it into fourths, marking the edges with small pencil marks. then i just roughly brushed on the paint. i did two coats of each color.

IMG_3081.jpg

painting #2:

i knew i wanted to do something with triangles for the second painting, but couldn't decide what would take the least amount of work. bobette came up with this idea and i love it. to do it, i measured down the middle and marked on each side. then i divided the long sides in to five parts. i marked down the middle making deep v's (rather than shallow ones).

i painted the stripes one by one. for this one i tried to do the coats thick enough so i didn't have to do a second one for each stripe. i took the tape off pretty quickly after i finished painting- it looked awesome. my lines aren't perfectly straight and there are some places where the paint bled under the tape- but i love it nonetheless.

the finished products:

IMG_1522.jpg
IMG_1540.jpg